Well, there's good news and there's great news. Which do you want first? Hopefully good, because I'm going to start small and build up from there! The good news is we are now the proud owners of a stackable washer/dryer. We were trying to save some $$ on this purchase, so we have been scouring craigslist for a gently used model. Were you aware of what a hot ticket item stackable washer/dryers are? I certainly wasn't. You have to really hone in on your craigslist stalking skills to land one of these bad boys. For example, one was posted in Louisville at 7:10am on Monday morning, by the time I got to work at 8am and Lee called them someone had already bought it and was on their way to pick it up. Um?? Really? That left us driving to Oolitic, Indiana on Monday night after work. 4 hours roundtrip and we finally have the last piece of the puzzle in place.
So, that leads us to the GREAT, fantastic, super exciting news. Now that we have the washer/dryer we are ready to schedule the plumber. Once the plumber comes out we can move in. Guess when the plumber is coming? NEXT WEEK. Holler!! Who knows when we will actually move in, we still have to finish up the trim and do lots of odd-jobs. But the point is it will be a functioning house within the next couple of weeks. Whoa. Strange feeling!
In other good news, we have been chipping away at the trim. I laugh at myself because I kept saying "oh the only thing big that we have left to do is the trim". I would say it like it was nothing, "oh, just trim". When will I learn?!?! This trim stuff is a huge job. Especially since we are doing it out of MDF and not just buying wood trim. Why would we do that, we obviously don't like taking the easy route on anything. But the real reason is it's like 100x cheaper to do it this way. So, what that means is we take a 4'x8' sheet of MDF (it looks like this, but in big sheets):
Then we have to cut it into strips, sand it down really good, prime it, put it up and then paint it. It's a really long, annoying process, but we are loving the results. Here are a couple progress pictures on the trim:
More soon!!
Wednesday, February 29, 2012
Friday, February 3, 2012
Small Detail, Big Impact
Something has been bothering me ever since the lights went in. Remember this photo?
Well, here's a closer shot:
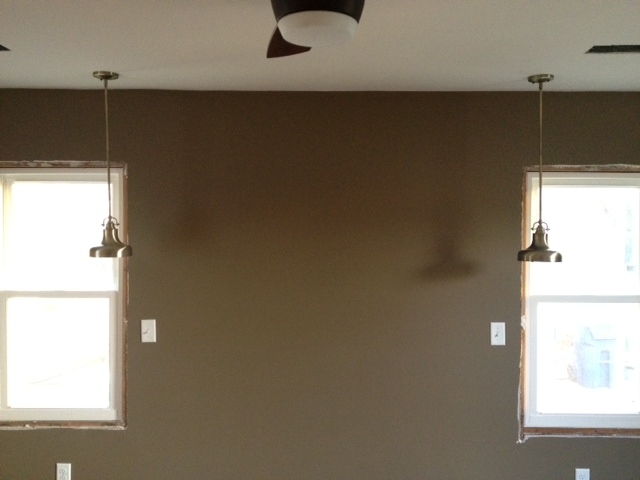
Can you tell what was driving me bonkers? It might just be me, but the way the cords were exposed and kind of wavy was driving me crazy. It just didn't look "finished". Now, typically this is what down-rods are used for. Down-rods are metal and you can slide them over the cord to give it a more finished look (the lights in our bedroom have down-rods, notice that you can't see the cords?):
I couldn't do that with the way this light was configured, though. I would need to wrap something around the cord rather than sliding it onto it (if that makes sense). After perusing Lowe's for a few minutes, I came across these guys:
I think you get where I am going with this. I was able to spray paint the rod black and then shove the cord inside of it. Voila!!
Subscribe to:
Posts (Atom)


